| ||||||||||||||
An example, step by stepLet's see a step by step example of how to identify an asteroid from a group of images.
Opening AladinTo start off with, find a group of images in which a given asteroid appears.
Click on Aladin “Check with Aladin”. If your browser asks you what to open this file with, click on “open with: Sun Java Web Star”, although this will probably be the default option. (If this doesn’t work, visit the FAQ section)
Aladin will launch and start loading the images. On the right hand side of the applet you will be able to see The Stack, where the loading images appear, alongside their load percentage.
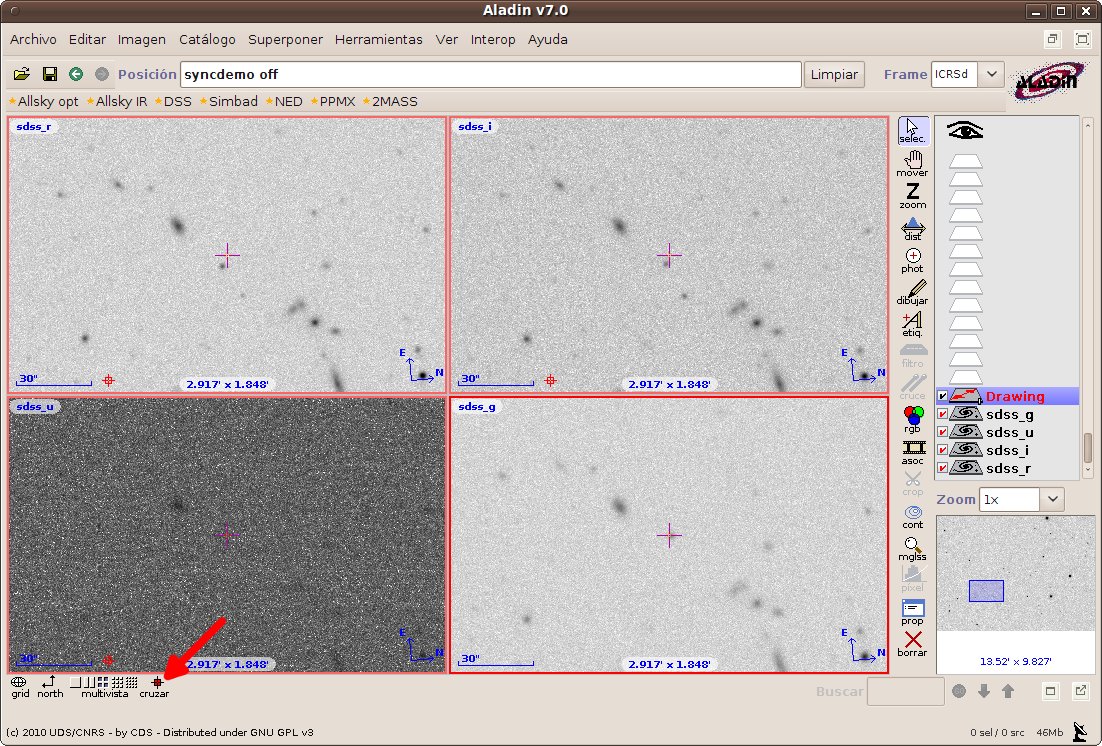
The "Match" button.Once all the images have loaded, a small window will appear recommending the use of the “match” button, which you should do.
The main use for the feature is that, when first loading an image, you will probably have to zoom in to be able to see if there is a moving object. By using this feature, you can ensure that you have zoomed in the correct amount and are inspecting the same area for all four images.
Once you have reached the desired level of zoom, you can un-match the images.
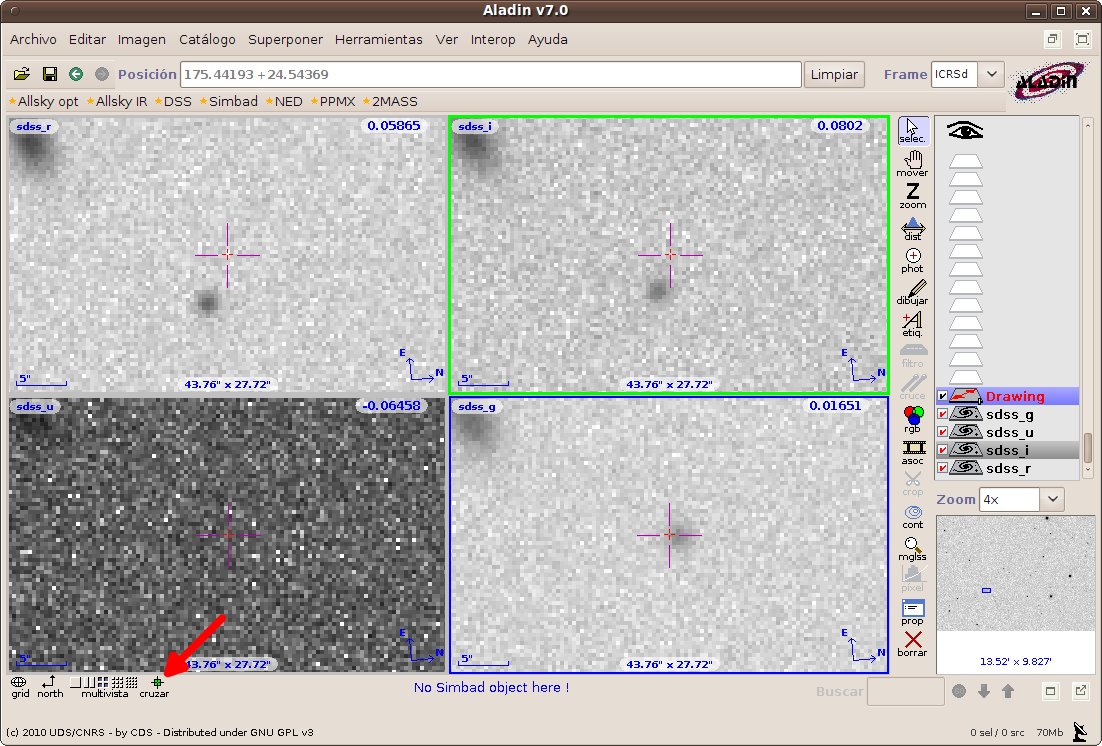
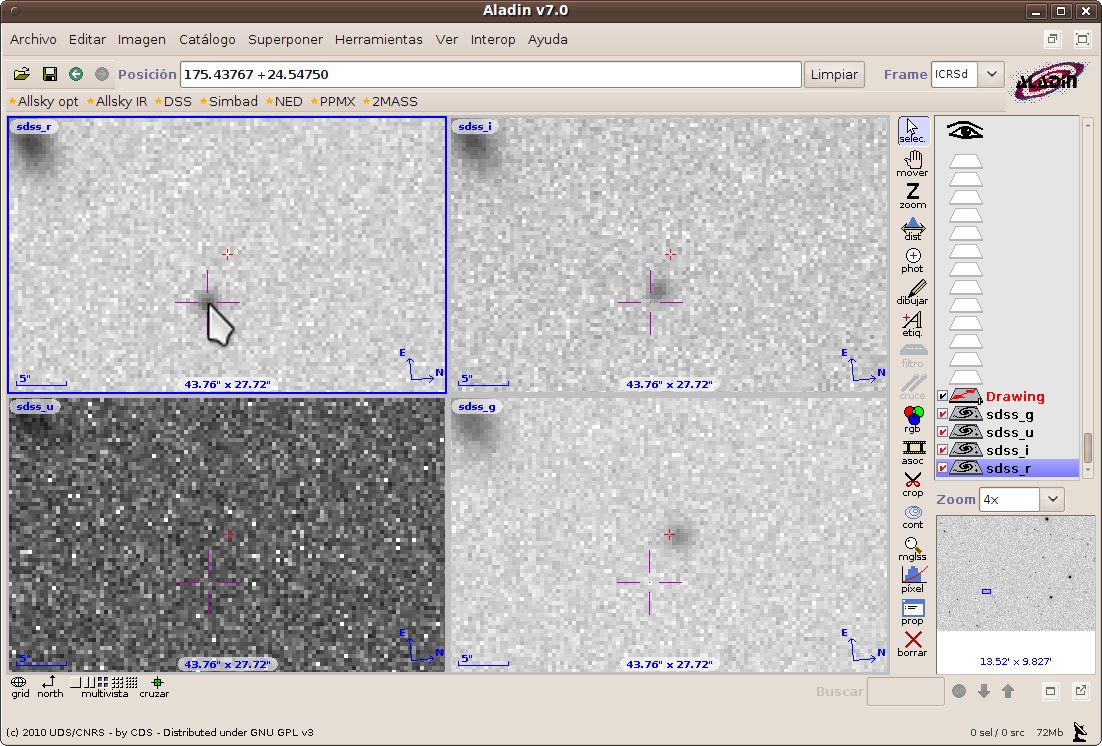
Finding an asteroid.All images are centred to the same point: Where the cross appears. These are the approximate coordinates of where the object is, although the real position will not be on the cross. In fact, that is the point of this program: We know the estimated trajectory of the object, but due to lack of data and small changes in the trajectory when passing near other objects, this value ends up not being very precise. When trying to locate the asteroid, bear in mind that the point must be:
N.B: The technique described above for identifying asteroids is the one we recommend due to its simplicity, even though it is not the only one. For example, you could create a “movie” with all the images and try to locate the object moving from one image to the other. Here’s how:
Now you will see a new image appear, which is the animation of all the images selected previously. You can play, stop, forward etc. allowing you to locate the asteroid quickly and with ease. We would like to thank David Marco for suggesting this method.
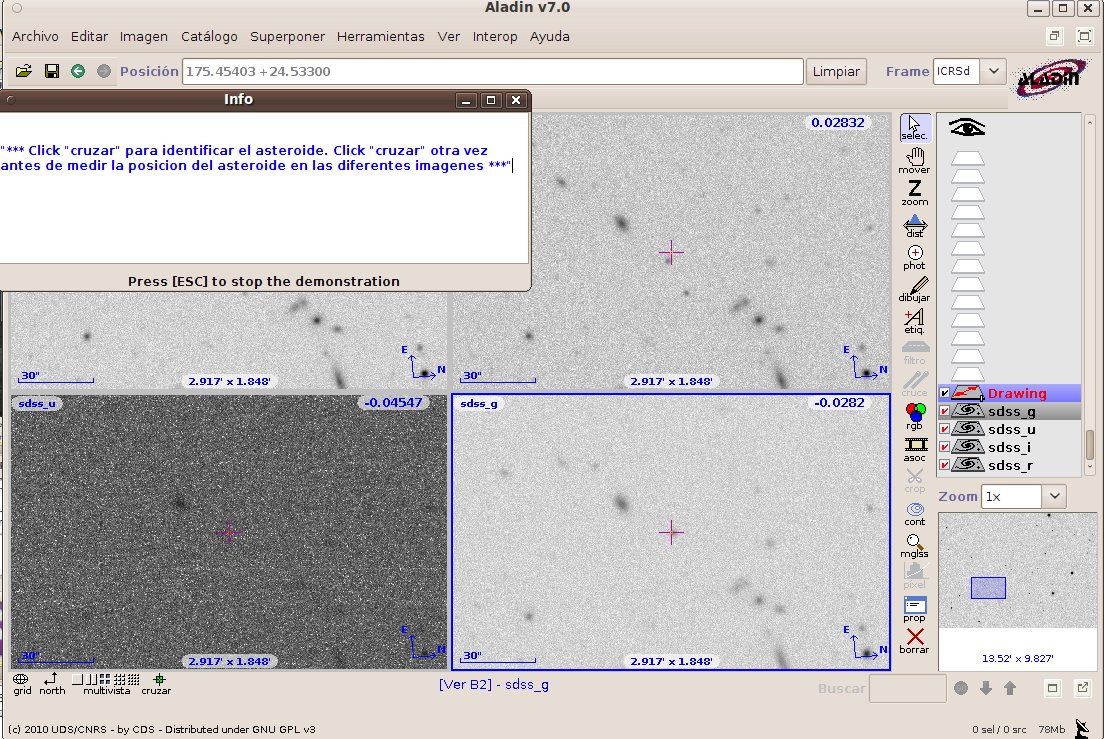
Obtaining the Asteroid’s Coordinates. If you click on the asteroid on the first image, the purple cross will now appear over where you have clicked, while a small red cross remains at the initial point.
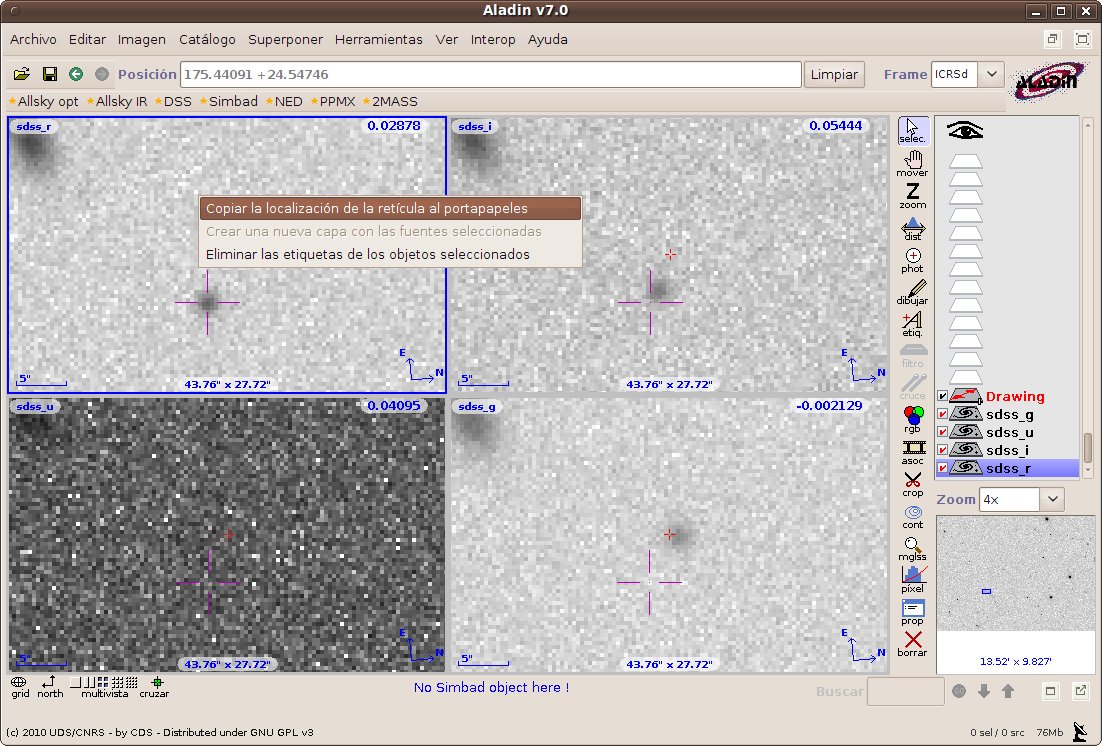
Right clicking over any point on the image will copy the asteroids position to the clipboard.
After this, simply paste this value in the RA/DEC field and change the object status to “confirmed”, as we have found the asteroid in this image.
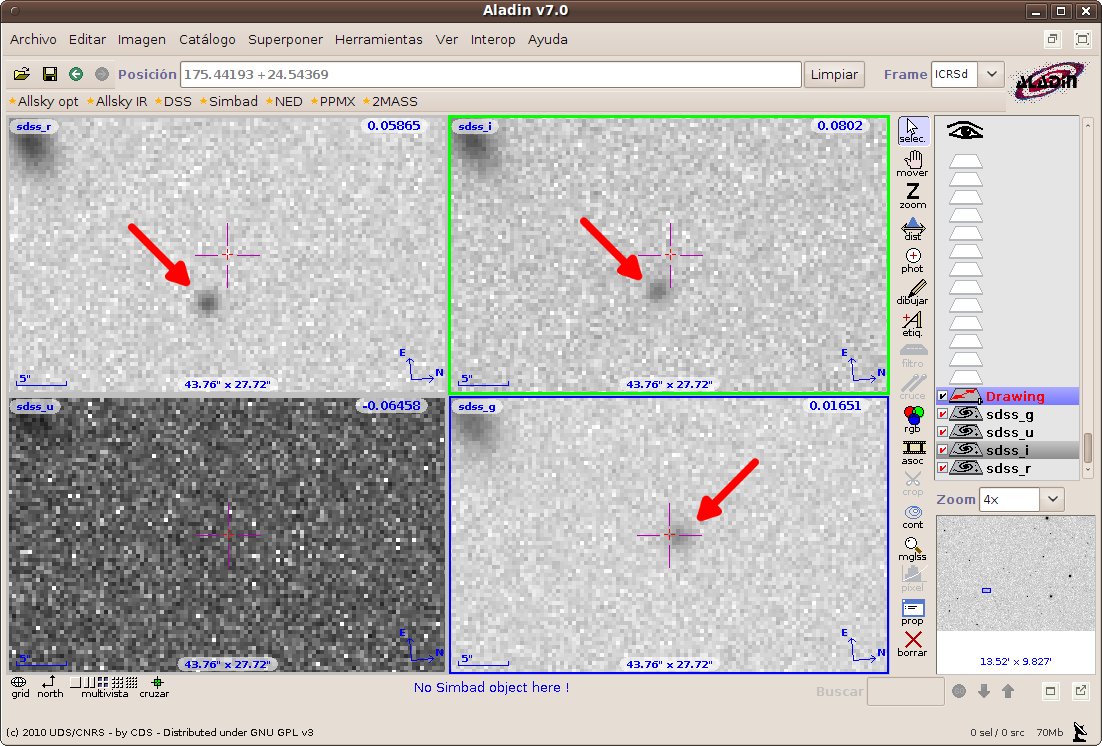
Repeat this process for the other 2 images where the asteroid is visible.
For the third image, where nothing can be distinguished, leave the coordinate field empty and change the object status to “too faint”.
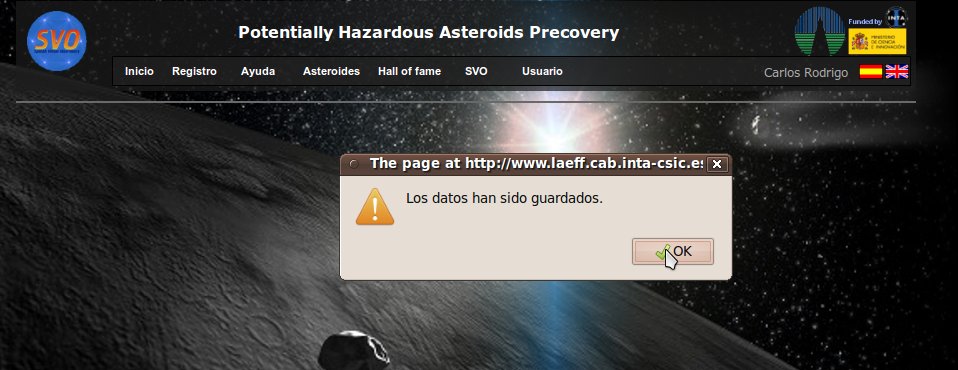
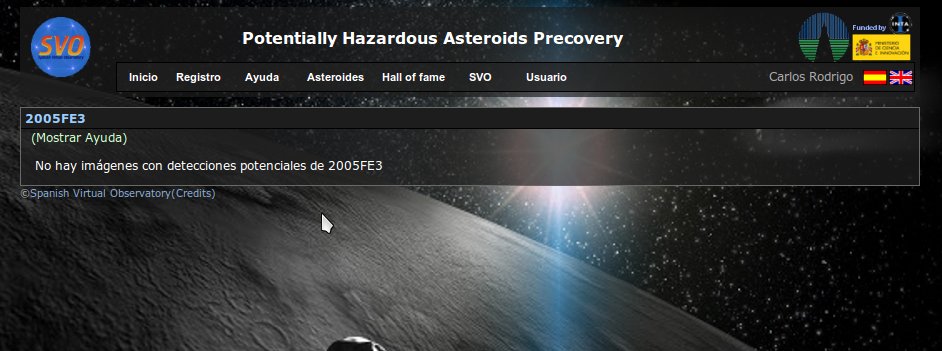
Finally, click on the “Save Data” button and you should see the images disappear.
| ||||||||||||||
| ©Spanish Virtual Observatory (SVO Privacy Policy) (Creditos) | ||||||||||||||